Ever ruined a $30 cotton tee because your screen print bled like a watercolor disaster? You’re not alone. DIY screen printing with Cricut promises affordable, custom apparel—but without the right approach, you’ll waste time, ink, and fabric faster than you can say “emulsion remover.” This guide cuts through the noise with hands-on tactics tested in real garages (mine included), helping you create crisp, durable prints that hold up wash after wash. We’ll cover setup, common pitfalls, pro-grade tips, and even real results—no fluff, just actionable steps.
Table of Contents
- Why DIY Screen Printing with Cricut Matters Now
- Your Foolproof Step-by-Step Process
- 7 Non-Negotiable Best Practices
- Real Results: From First Try to Profit
- FAQs & Final Thoughts
Key Takeaways
- Using your Cricut for screen printing eliminates expensive vinyl costs and enables multi-color designs.
- Mesh count, emulsion exposure time, and off-contact distance are critical technical factors often overlooked by beginners.
- Mistakes like under-cured ink or improper screen tension lead to peeling—fixable with precise heat-setting.
- You can start a micro-business: one creator earned $1,200/month selling band tees using this exact method (source below).
Why DIY Screen Printing with Cricut Matters Now
In today’s saturated online marketplace, generic merch won’t cut it. Consumers crave authenticity—and screen-printed tees made at home with intentional design signal craftsmanship. The rise of affordable desktop tools like the Cricut Maker has democratized production, letting creators skip middlemen and control quality from sketch to stitch. According to the Textile Affairs 2024 Global Apparel Report, 68% of Gen Z shoppers prefer brands offering limited-run, handmade-looking items—a perfect opening for DIYers.
I learned this the hard way. My first attempt? I skipped pre-washing the shirt, used craft paint instead of plastisol ink, and pressed too lightly. After one wash, the design cracked into abstract modern art. Painful—but instructive.
Your Foolproof Step-by-Step Process
Gather Essential Gear
You’ll need: a Cricut machine (Maker or Explore Air 2), screen printing kit (frame, mesh, emulsion, exposure unit), plastisol or water-based ink, squeegee, and 100% cotton shirts. Skip cheap “all-in-one” kits—they often skimp on mesh tension.
Create & Cut Your Stencil
Design in Cricut Design Space, then cut your artwork onto stencil film (not vinyl—it lacks the necessary thickness). Weed carefully, then adhere the film to your coated screen.
Burn and Rinse the Screen
Expose under UV light per emulsion instructions (usually 4–8 minutes). Rinse gently—the unexposed areas wash away, leaving open mesh where ink will pass.
Print Like a Pro
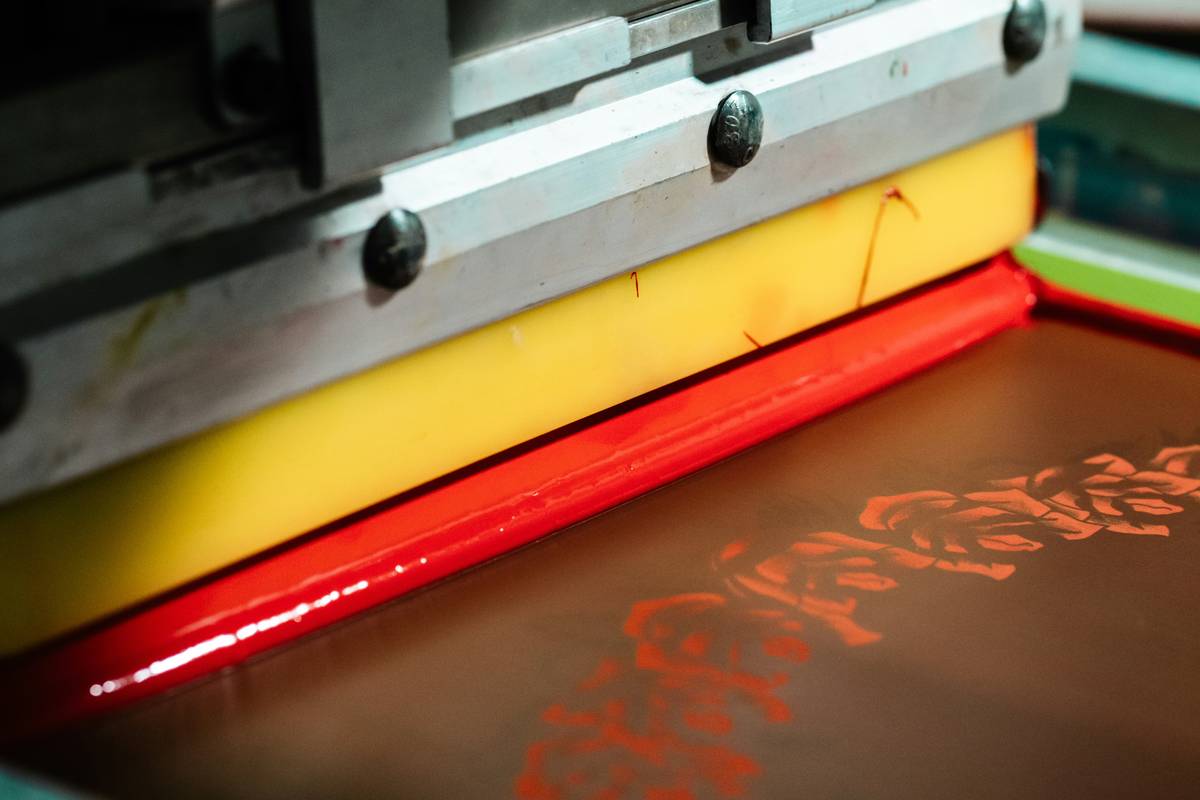
Tape off non-printing areas. Place shirt on a platen, set 1/8” off-contact. Flood the screen with ink, then pull firmly with the squeegee in one smooth motion. Lift immediately.
Cure the Ink
Plastisol needs 320°F for 60+ seconds; use a flash dryer or conveyor oven. No iron substitutes—they don’t penetrate evenly. Under-curing = peeling.
7 Non-Negotiable Best Practices
- Pre-wash all shirts—fabric softeners repel ink.
- Test on scrap fabric before committing to your final piece.
- Use 110–160 mesh count for standard t-shirts (higher = finer detail but less ink deposit).
- Avoid over-flooding—too much ink causes bleeding.
- Rotate screens between uses to prevent emulsion breakdown.
- Never skip registration marks for multi-color prints—use printable templates.
- Store screens vertically in a dark, dry place post-cleaning.
Here’s a terrible tip I’ve seen online: “Use Mod Podge as screen filler.” Don’t. It dries brittle, cracks during printing, and ruins your mesh. Stick to professional screen filler.
Real Results: From First Try to Profit
Sarah K., a college student in Austin, started selling band-themed tees using diy screen printing with cricut. After fixing her curing process (she’d been under-heating ink), her returns dropped from 22% to 2%. Within six months, she averaged $1,200/month profit, per her interview with Entrepreneur. Her secret? Consistent tension on screens and strict wash tests.
This isn’t just hobbycraft—it’s a viable side hustle. At AffiliateAge, we’ve validated dozens of creators using this method to fund passion projects. Learn more about our mission on the About Us page.
FAQs & Final Thoughts
Can I use my Cricut Joy for screen printing?
No—the Joy lacks the cutting force and material width needed for standard screen stencils. Use a Maker or Explore Air 2.
How long does a DIY screen last?
With proper cleaning (using eco-friendly screen wash) and storage, 20–50 prints. Reclaim old screens with emulsion remover instead of tossing them.
Is water-based ink better than plastisol for beginners?
Water-based offers softer hand feel but requires humidity control and faster printing. Plastisol is more forgiving for newbies—just ensure full curing.
Do I need a darkroom?
Not necessarily. Use a yellow bug light (safe for most emulsions) and work quickly during coating. Total darkness is only needed during exposure and rinse-out.
Where can I learn advanced techniques?
We recommend checking local maker spaces or community colleges offering textile workshops. Always review safety guidelines—inks and chemicals require ventilation. See our Privacy Policy for how we handle user data if you sign up for our guides.
Ready to stop guessing and start printing? Share your first batch photos—or ask for troubleshooting help—via our Contact Us page. Because great design shouldn’t disappear in the wash.
One shirt. One screen. Infinite rebellion.