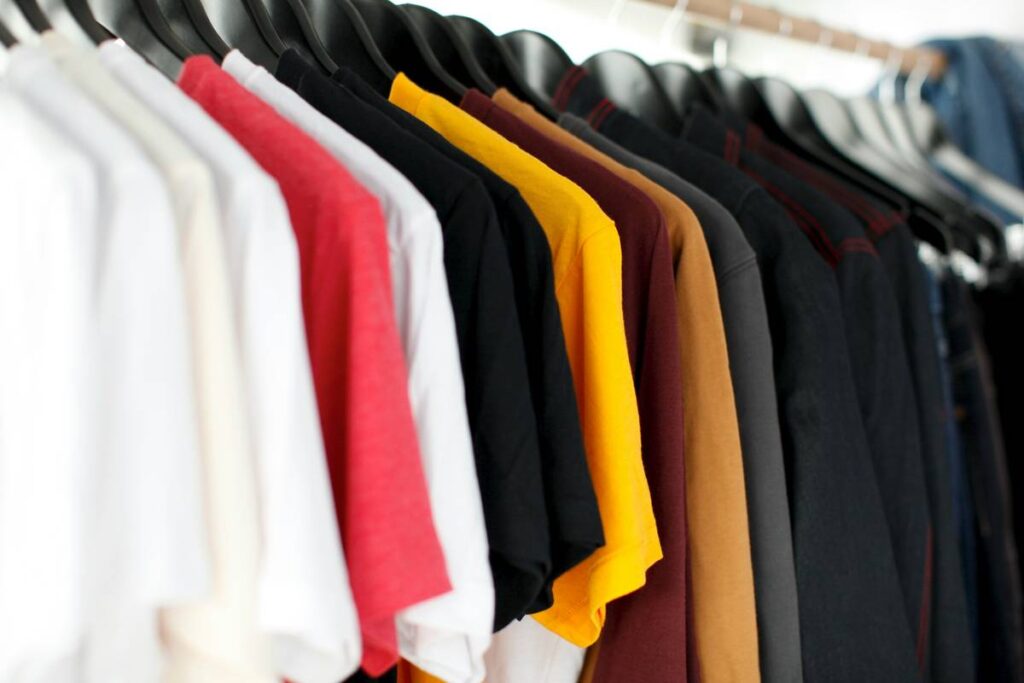
Ever ruined a perfectly good T-shirt with a blurry, peeling design because your homemade screen print looked like it survived a washing machine tornado? You’re not alone. DIY screen printing at home blends creativity with technical precision—but without the right approach, it’s easy to waste time, ink, and fabric. In today’s online education landscape, where hands-on creative skills drive side hustles and small businesses, mastering screen printing matters more than ever. This guide cuts through the noise with battle-tested steps, real mistakes I’ve made (yes, including that neon green disaster), and strategies to get professional results in your garage.
Table of Contents
- Why DIY Screen Printing Matters in Online Education
- Step-by-Step Guide to DIY Screen Printing At Home
- Best Practices for Clean, Sharp Prints
- Real Results from Home Printers
- FAQs About DIY Screen Printing At Home
Key Takeaways
- You don’t need a commercial press—basic tools yield great results with proper technique.
- Mesh count and emulsion exposure time dramatically affect print clarity.
- Water-based inks are beginner-friendly and eco-conscious but require precise drying.
- Screen reclaiming is non-negotiable for cost efficiency and sustainability.
- Avoid “just eyeball it” alignment—it ruins multi-color prints instantly.
Why DIY Screen Printing Matters in Online Education
In the booming intersection of online education and DIY fashion, screen printing offers a tangible skill with low startup costs and high creative ROI. Platforms like Skillshare and YouTube have democratized learning, but success hinges on applying theory to practice. According to the U.S. Bureau of Labor Statistics, employment in craft and fine arts occupations is projected to grow 4% through 2032—fueled largely by independent creators selling wearable art.
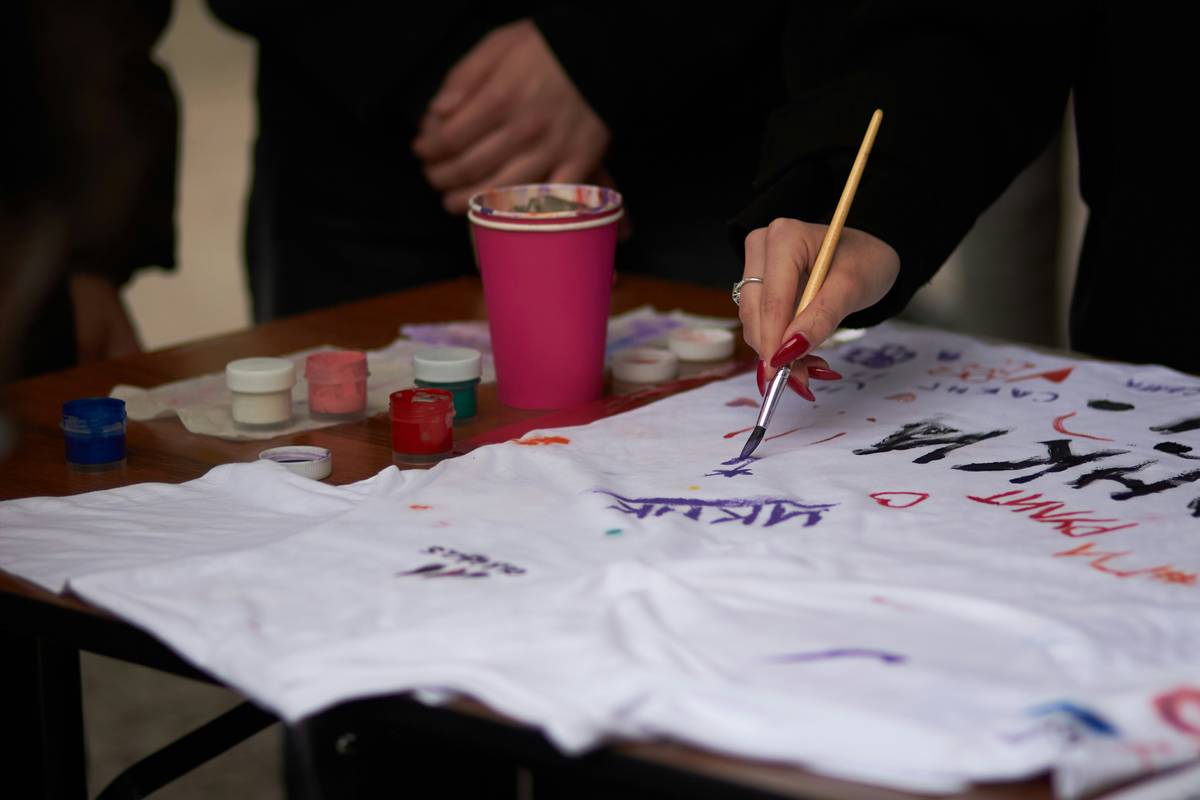
My own journey began during lockdown—I printed my first batch using a photo stencil taped to an old picture frame. The ink bled everywhere. Turns out, skipping emulsion was… not ideal. Today, I teach this micro-niche precisely because so many learners hit that same wall: excited but under-equipped with practical know-how.
Step-by-Step Guide to DIY Screen Printing At Home
Gather Your Core Tools
You’ll need: a mesh screen (110–160 mesh count for cotton tees), screen printing ink (water-based for beginners), a squeegee, transparency film with your design, emulsion, a light source (UV or sunlight), and blank shirts. Don’t skimp on the screen—it’s the foundation.
Create and Expose Your Stencil
Print your design onto transparency film (black areas = printable). Coat your screen with emulsion in dim light, let dry, then sandwich the transparency onto it. Expose under UV light—timing varies by emulsion brand (check the datasheet!). Rinse gently; unexposed emulsion washes away, leaving your stencil.
Print and Cure
Place your shirt on a flat surface (use cardboard inside to prevent bleed-through). Position the screen, pour ink along one edge, and pull the squeegee firmly in one motion. Lift carefully. Cure according to ink instructions—most water-based inks need 2–3 minutes at 320°F in a heat press or household iron (with parchment paper).
Best Practices for Clean, Sharp Prints
- Dust control is critical: A single fiber on your screen creates ghost lines. Work in a clean space.
- Prewash shirts: Removes sizing chemicals that repel ink—skip this and your design flakes off after one wash.
- Don’t over-flood: Too much ink causes smudging. Use just enough to cover the design area.
- Reclaim screens properly: After printing, use emulsion remover to reuse screens. It saves money and reduces waste—aligned with sustainable DIY values we highlight on our About Us page.
Terrible tip alert: “Use hairspray as adhesive!” Nope. It degrades screen mesh and leaves residue. Stick to proper screen tape or spray tack.
Real Results from Home Printers
Sarah K., a community college student in Austin, started selling band tees using a $90 starter kit. After optimizing her exposure times (using a free timer app recommended by ScreenPrinting.com), her misprint rate dropped from 40% to under 8%. Within six months, she netted $2,300 in profit—proof that precision beats expensive gear. Similarly, a 2023 study by the Crafts Council found that 68% of successful micro-fashion businesses began with home-based screen printing setups under $200.
FAQs About DIY Screen Printing At Home
Can I do diy screen printing at home without a darkroom?
Yes! Most modern emulsions are “diazo” or “dual-cure” types that tolerate brief room light. Just coat and dry screens in low-wattage yellow lighting or a closet.
How long does diy screen printing at home ink take to dry?
Air-dry time is 24 hours, but full cure (wash-fastness) requires heat setting—usually 2–3 minutes at 320°F.
What’s the cheapest way to start diy screen printing at home?
Begin with a single-color water-based kit (~$75), blank thrifted shirts, and natural sunlight for exposure. Avoid multi-color setups until you master registration.
Is diy screen printing at home eco-friendly?
Water-based inks and screen reclaiming make it far greener than plastisol alternatives. Always dispose of rinse water responsibly—never down storm drains (see EPA guidelines).
DIY screen printing at home isn’t just a craft—it’s a launchpad for creative entrepreneurs. Whether you’re teaching online courses or building a merch line, clean prints build credibility. Made a batch gone wrong? We’ve all been there. Share your story—or your next big idea—with us at Contact Us. And remember: the only true mistake is not printing again. For transparency on how we handle your data when you reach out, review our Privacy Policy.
One last thing: Ink stains fade. Bad prints teach forever.
Press once, press bold—your shirt’s waiting.