If you’ve ever tried screen printing at home and ended up with a blotchy mess—or worse, wasted dozens of blanks—you’re not alone. Most beginners treat t shirt printing screens like magic portals. They aren’t. The problem? Generic tutorials skip the gritty details that separate profit from pile-of-rags disappointment. Here’s how to actually make it work—without burning cash.
Why 90% of DIY Screen Printers Fail Before Their First Sale
It’s not about talent. It’s about flawed assumptions. Newcomers buy cheap kits thinking they’ll “figure it out.” But low-mesh-count screens clog. Emulsion peels off mid-print. Ink bleeds because the flood stroke was rushed. And no one warns you: your squeegee angle matters more than your design software.
And here’s the kicker—most “beginner guides” never mention registration accuracy. You can have perfect artwork, but if your platen isn’t level or your hinges wobble, your multi-color print looks like a toddler’s finger painting. The real bottleneck isn’t creativity—it’s mechanical precision masked as artistry.
Step-by-Step: Building Reliable t shirt printing screens (Without Wasting $500)
Selecting the Right Mesh Count
Not all fabrics are created equal. Printing on tri-blend tees? Go 110–160 mesh. For crisp halftones on 100% cotton, 200+ is non-negotiable. Ignore this—and your gradients turn into muddy blobs.
Coating & Exposing Like a Pro
Use dual-cure emulsion—not the $8 bottle labeled “quick dry.” Apply in complete darkness with an even scoop coater pass—front and back. Expose using a calibrated exposure unit (or a math-backed DIY lamp setup). Underexposure = pinholes. Overexposure = loss of fine detail. Test strips save shirts.
Registration & Printing Workflow
Set up a hinge-based jig—even if you’re doing one-offs. Tape your screen frame to the same spot each time. Use registration marks on film positives. Flood, print, snap. Repeat. Rushing = inconsistent ink deposit. Consistency = repeat customers.
| Method | Startup Cost | Best For | Ink Waste per Job |
|---|---|---|---|
| Pre-stretched Aluminum Screens | $80–$150 per screen | High-volume shops, sharp detail | Low (reusable 50+ prints) |
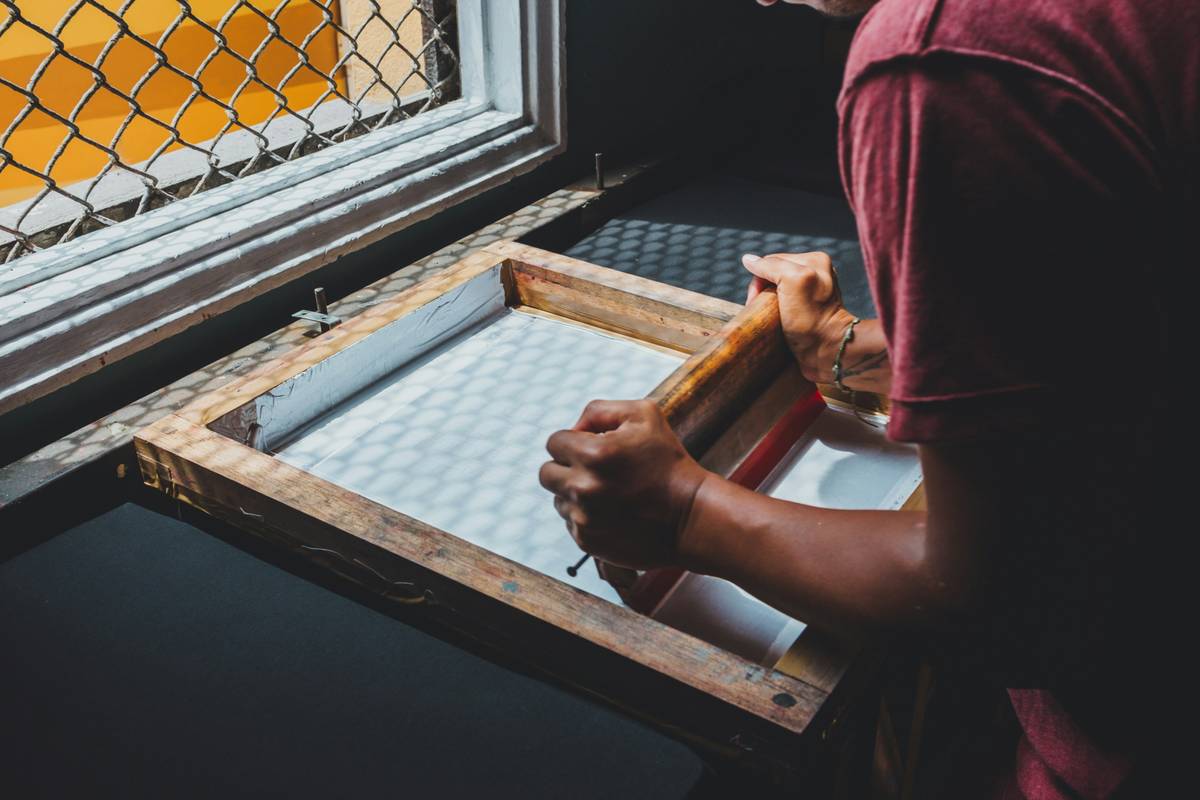
| DIY Wood Frame + Mesh | $25–$40 per screen | Hobbyists, single-color runs | Moderate (3–5 uses before tension loss) |
| Capillary Film (Diazo-Free) | $60 initial + $10/screen | Fine lines, eco-conscious printers | Very low (no washout chemicals) |
The Industry Secret: It’s Not About the Screen—It’s About the “Dry Time” Lie
Here’s what no supplier will admit: most water-based inks don’t fully cure just because they feel dry to the touch. That shirt you shipped 2 hours after printing? It might crack after the first wash—not because your screen failed, but because you skipped the post-cure step. Flash dryers help, but conveyor dryers hitting 320°F for 90 seconds? That’s the invisible line between amateur and pro.
But—and this is critical—if you’re using plastisol, over-flashing melts the fibers, creating ghost images on the next shirt. The fix? Under-base your dark garments with a low-opacity white, flash just enough to gel, then print your top colors. This method? It’s how boutique brands charge $38 for a tee and still clear 60% margins.
Frequently Asked Questions
How many times can I reuse t shirt printing screens?
With proper reclaiming (dehazing after every 5–10 prints), aluminum frames last 100+ runs. Wood warps—replace after 10–15 jobs.
Can I use photo emulsion without a darkroom?
Yes—but only under amber or yellow bug lights. White LED = instant emulsion death. Work fast and coat both sides in under 90 seconds.
Why does my ink bleed under the stencil?
Your screen tension is too low (<25 N/cm). Ink squishes sideways instead of shearing through. Tighten or retension.